This tutorial will show you how to open your PSP Slim and replace the LCD Screen and backlight. Symptoms of a broken PSP screen:
* Cracks in the screen
* Part of the lcd screen stays black when psp is turned on
* Black spots or lines on the screen
Stuff you will need:
* A few small screwdrivers (phillips #00, flat head)
* Needlenose pliers
* Ziplock bags for screws and small parts
Quote
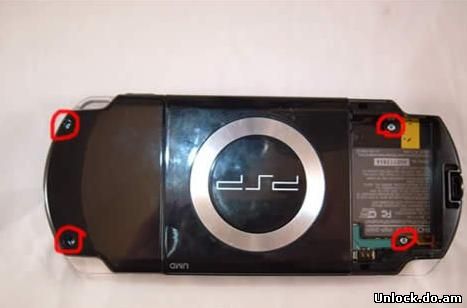
You'll have to remove seven screws to open your psp slim. There are four screws on the back of the psp slim.
Quote
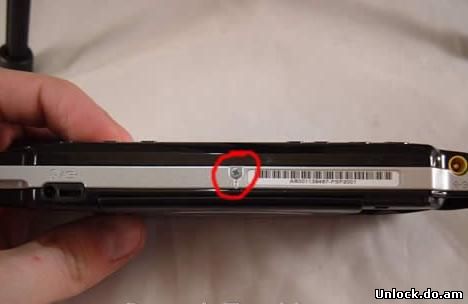
There is one more screw on the bottom of the psp.
Quote
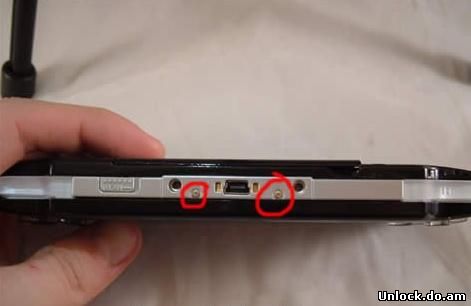
Two more on the top.
Quote
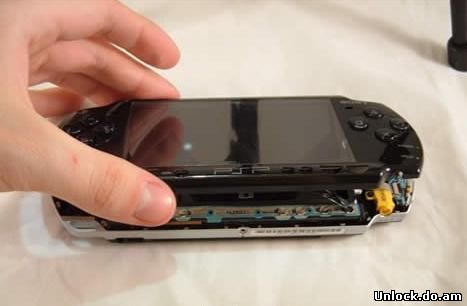
Now you can take off the faceplate.
Quote
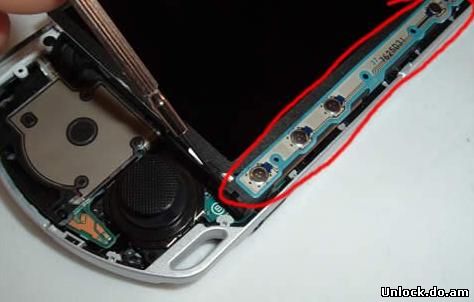
Use your small flathead screwdriver to pry off the left side of the button bar
Quote
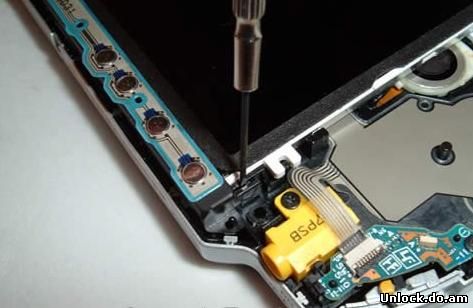
Now do the same on the right.
Quote
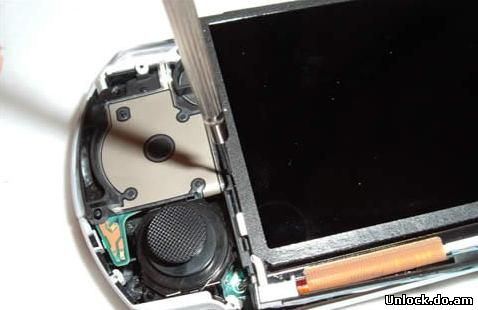
The screen is held in place by a few plastic clips. Use your flathead screwdriver to pry it out.
Quote
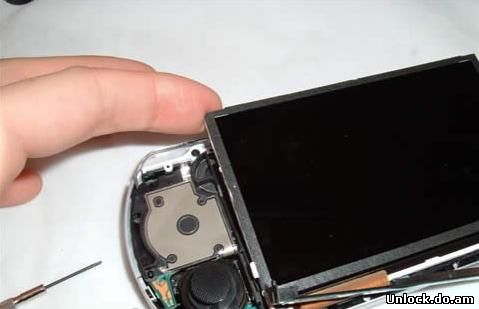
Now you can lift up the screen and get to all the cables that connect it to the motherboard.
Quote
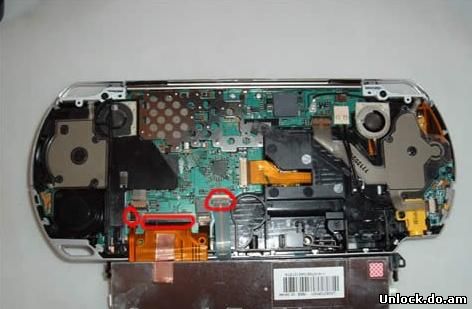
The thin cable on the left is the backlight cable. The thick cable next to it is the lcd data cable. The one on the right is the button bar cable. Lift up the clips with a screwdriver or your fingernail to release the cables.
Quote
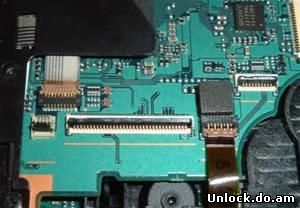
Motherboard with the clips open and cables disconnected. Installation is the reverse of removal.
 Main
Main  PSP Slim LCD Screen Replacement Tutorial - Forum
  Registration
  Login
Login